
Hey there! I’m here to tell you all about how to create your own zentangle in four easy steps! Now some of you might be wondering, what exactly is a zentangle? A zentangle is some kind of drawing (abstract or realistic) filled with different sections of structured patterns. They also look really cool as backgrounds, designs on lettering, or anything else you can imagine. It’s a fun and relaxing way to entertain yourself-especially during those really long classes. They are very easy to create, but here’s a guide to some of the basics to help get you started.
- Gather materials

The first step, of course, is to find your materials. I normally just use a pen or sharpie, but you can also switch it up by using colored scratch-off paper. Sharpie pens and colored pencils work great too.
2. Divide paper into sections
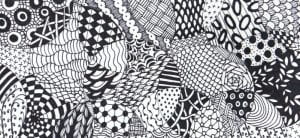

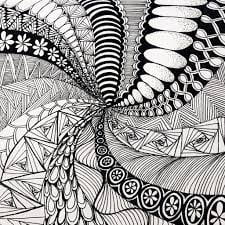
You can draw random lines, overlapping geometric shapes, or even just a normal drawing, so you can have different sections to fill in. The above pictures already have patterns in them, but you can see where they divide. This is what you want to draw right now! They can be as small or large as you’d like. It’s all a matter of preference!
3. Find pattern ideas

This step is optional, but I find it extremely helpful to look up ideas for patterns to fill in your drawing. It can be hard to come up with ideas on your own beyond simple stripes and polka dots. For a more detailed zentangle, choose more intricate designs that you don’t color in, and has lots of lines. Having a variety of different pattern thicknesses and sizes will also make your zentangle more interesting to look at.
4. Fill it in!
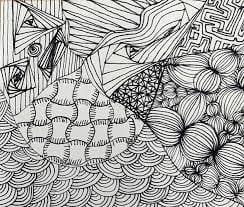
Now for the best part-filling it in! Take the pattern ideas you have or make it up as you go, if you like. Just take your time on each section, relax, and have fun! Happy zentangling!